How to Use Zapier to Automatically Export Meta Lead Gen Ads to a Google Spreadsheet
Generating leads on Meta is a powerful way to grow your business. But what happens after those leads roll in? We have seen leads sit in Meta unanswered for days or weeks before getting answered, which is bad for business. Manually exporting and organizing them is time-consuming and prone to errors. Fortunately, Granular came up with a solution to automate lead flow and make sure your sales team gets leads quickly, which increases close rate and improves the overall ROI of Meta ads.
In this guide, you’ll learn how to connect Meta Lead Gen Ads to Google Sheets using Zapier. By the end, you’ll have a fully automated system that updates your spreadsheet whenever a new lead comes in
What is Zapier, and Why Automate Meta Lead Data?
Zapier is a no-code automation tool that connects apps and automates workflows. It allows you to move data between different apps without needing coding experience. For Meta marketers, this means you can send lead data from Meta Lead Gen Ads directly to a Google Spreadsheet automatically.
Why should you automate this process?
- Save Time: No more manual exports and updates.
- Reduce Errors: Automation minimizes the risk of missed or incorrect data entries.
- Real-Time Updates: Access your leads immediately, keeping your sales team in sync.
Step-by-Step Guide: How to Use Zapier to Export Meta Lead Gen Ads to Google Sheets
Pre-Set up Steps:
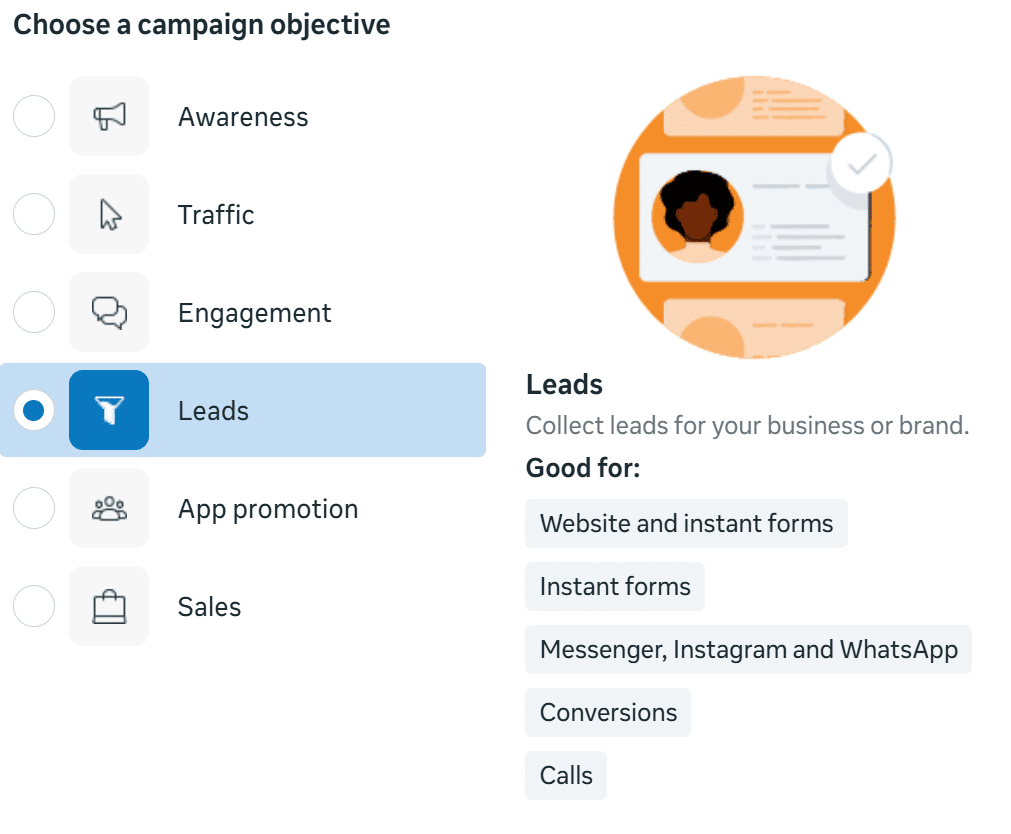
- Set your campaign to optimize for Lead Generation, so your ads drive people to a lead form instead of sending them to your website.
- Decide upfront what information you want to collect from leads. Having this mapped out will make it easier and faster to connect submissions to your automated Google Spreadsheet.
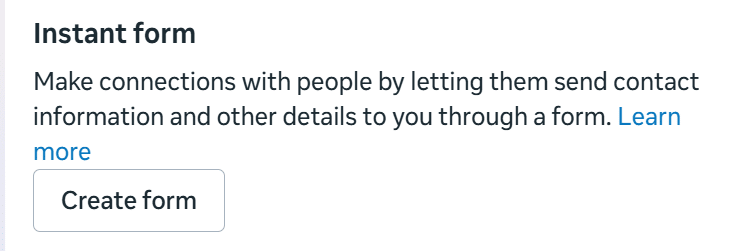
Meta Form Creation
- Zapier will prompt you to sign in and authorize your LinkedIn account.
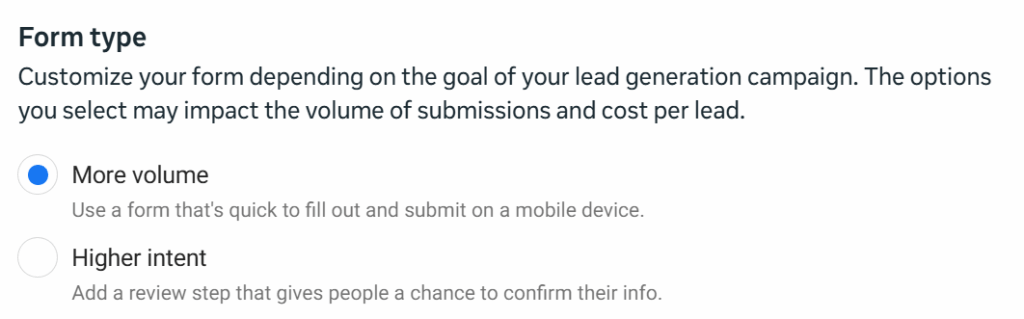
- For Form type, you can either use More Volume if you want as many form submissions as possible, or Higher Intent if you prefer higher quality form submissions (note – this is something that you can come back to and test, just keep in mind that you’ll have to create a new form for any edits after you publish)
- For Flexible Form Delivery, you can leave optimized on.
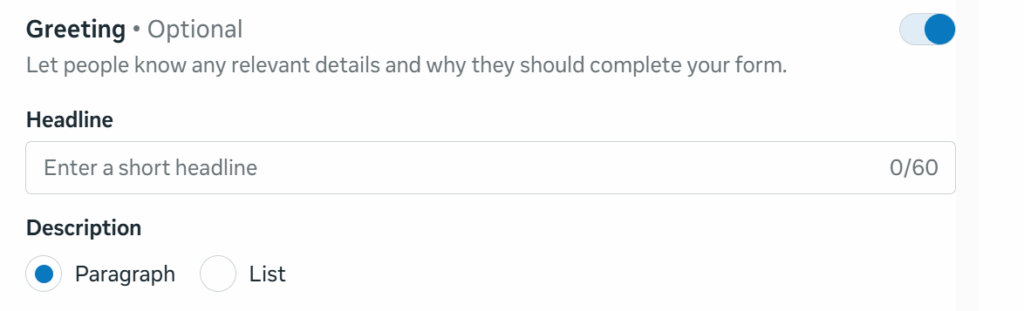
- You can add a greeting if you desire. This comes with adding a headline and/or description.
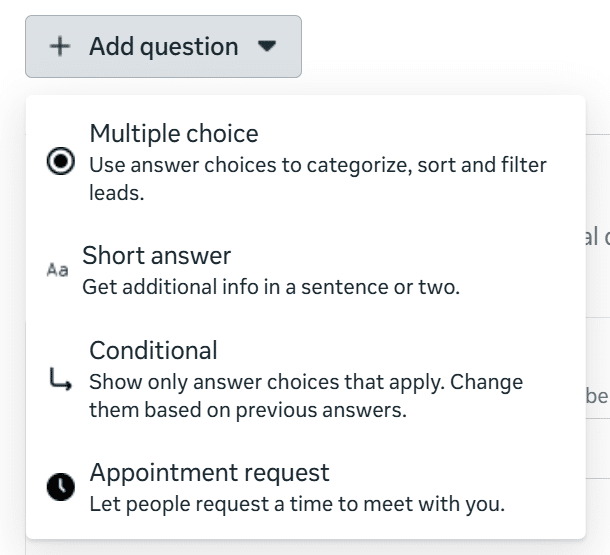
- The Questions are the bread and butter of the Form. This is where you decide what information you want to collect from submissions. You can choose from pre-built categories like Contact Information, Demographics, Work Information, and more. (Tip: we recommend using separate fields for First and Last Name instead of a single Full Name field—it makes your data much cleaner.)
- Finally, make sure you have a privacy policy ready to go and linked to your form submission.

Important Every time you need to make an adjustment to a form, Meta will make you create a NEW form.
Google Spreadsheet Set Up Steps:
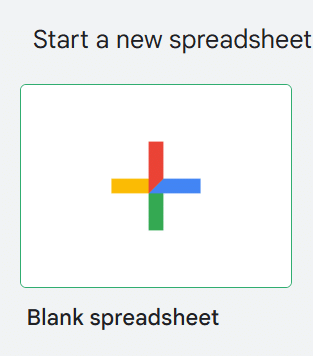
- Create a new Google Sheet.
- Enter headers that match your form fields (ie first name, last name, email, etc)

- Once your Zapier connect is set up, your Meta leads will flow directly into this Google Sheet.
- Zapier Set Up Steps:
- Go to Zapier and create an Account
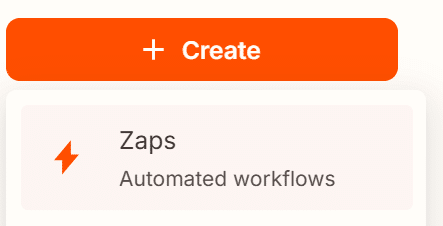
- Click Create in the Top Left Corner and Click Zap
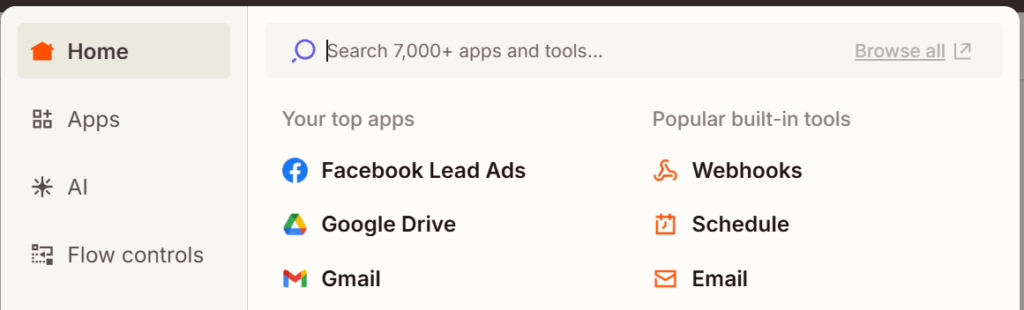
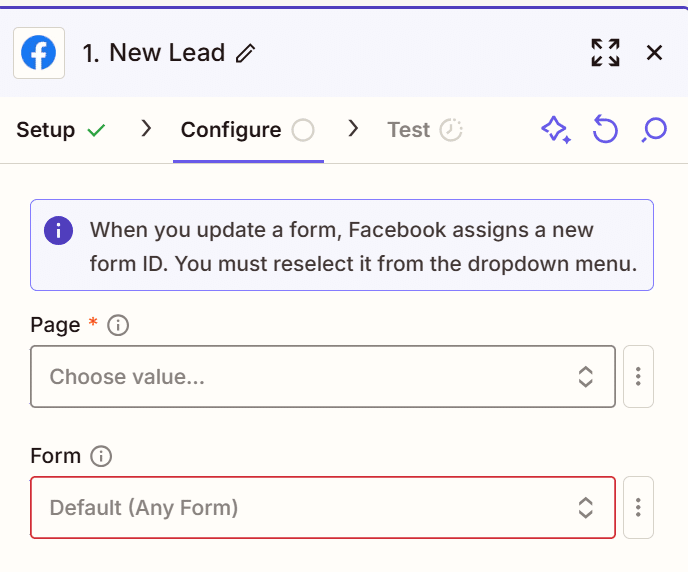
- Then Click Trigger, this is going to be what triggers the event. You then want to select Facebook Lead ads
- For Trigger Event, click New leads

- For Account, you will click the advertising account associated with the Lead Gen campaign you are trying to analyze
- For Page, you will click the Client Account you are trying to pull lead form submissions from
- For Form, Click the Form you created. This form will hold all the information you want automatically loaded into the GoogleSheet. If you are unsure which form to use (because you have multiple forms), go back into the ad on Meta and it will be the one activated
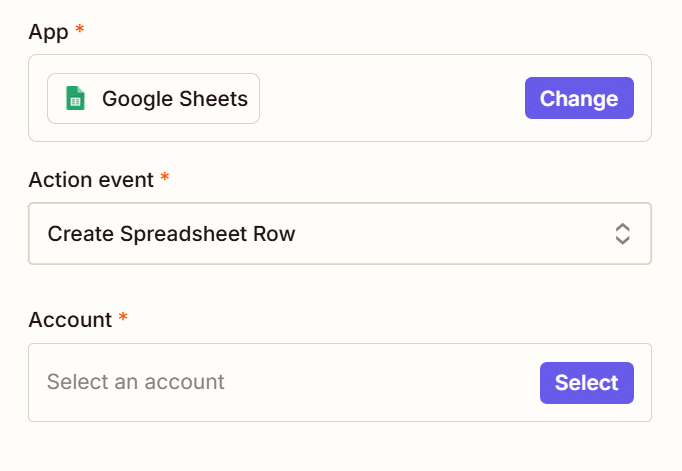
- For Selecting the Event:
- The App is going to be Google Spreadsheets
- The Action Event is going to be Create Spreadsheet Row
- The Account is going to be the Google Account linked to the Spreadsheet you created
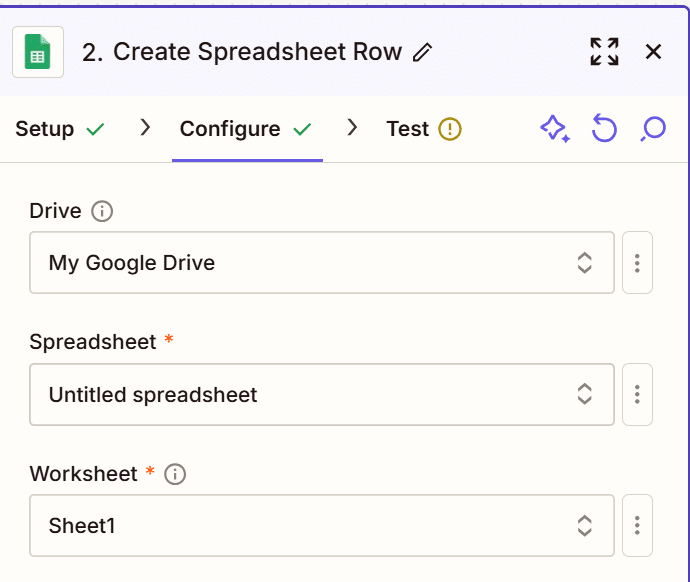
- For Create Spreadsheet Row:
- The Drive is going to be My Google Drive
- The Spreadsheet is going to be the Spreadsheet you just created
- The Worksheet is the Sheet you set you headers on (likely Sheet 1)
- In the Configure step, match each header to the right Meta field. For example, the header First Name should be assigned to Meta’s First Name data. You can also add custom values, if you want a column called Channel to always say Meta, just type it in, and it will automatically populate.
- Add an Email Notification. To make sure you don’t miss a new lead, add one more action step:
- Click the “+” button after your Google Sheets action.
- Choose Email by Zapier (or Gmail, Outlook, etc.).
- Select Send Email as the action.
- Enter your recipient email address (or a team distribution list).
- In the subject/body, include lead details like Name, Email, and Campaign — Zapier will let you pull these directly from the Meta form fields.
- The final step is testing your connection. This will populate a single row of data so you can confirm everything is working correctly.
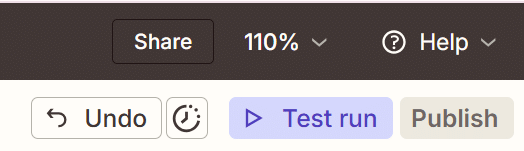
- Simply click Publish in the top right.
Boom, you are all set!
Any lead coming forward through your campaign will automatically be uploaded to your Google Sheet and you will receive an instant alert in your email. This means no more manual uploads for you or your client!
Questions?
If you have any questions or are interested in having Granular help grow your business, please use the button below to get in touch!
Related Articles